22 November 2020
For uploading an application to a payment terminal and conducting functional tests of an application, usually you need the utility supplied in the manufacturer’s SDK. However, using it, you can upload only signed applications, which requires a signature card (ordered and purchased from the manufacturer, in our case, it's NewPOS Ltd.) and also you need one more action before uploading an application — sign it with another utility supplied in the SDK. Thus, it turns out a rather long chain of actions that certainly slows down your development process. There is a much simpler way.
Preparatory work
Before you begin, make sure you have everything you need:
- NewPOS terminal with WiFi or Ethernet;
- SDK and Toolchain to build the application (all supplied by the manufacturer);
- Patch to enable developer mode (supplied by manufacturer);
- SSH client to transfer files to POS-terminal - installed on Linux and Mac systems, for example, from the package manager (depends on your Linux version and preferences on Mac). Or, if you have a Windows, you can use WinSCP utility to transfer files and PuTTY to run your application on the POS terminal
Let's start uploading process
Step 1. Enabeling developer mode on the POS-terminal
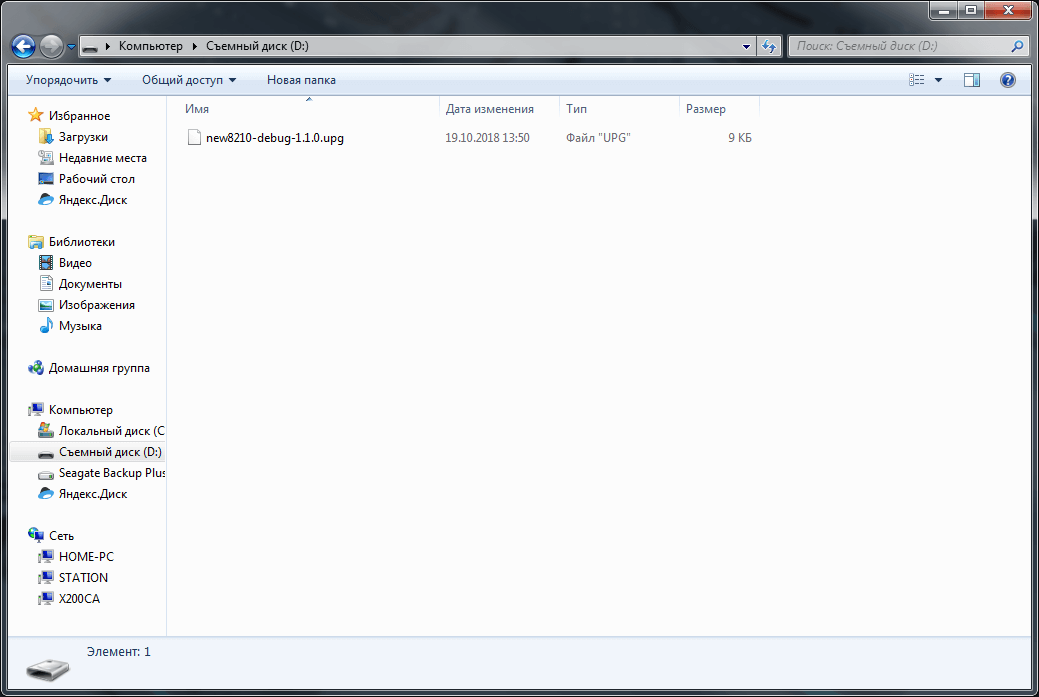
First of all let's prepare a USB flash-drive: format it in FAT32 and copy the patch file on it. Now, connect the prepared USB flash drive to the POS terminal via USB-OTG, go to the menu and select Downloading -> Offline update. В появившемся меню наводим курсор на файл с патчем и жмём Enter. In the appeared menu, hover the cursor on the patch file and press Enter. After a successful installation, restart your POS terminal.
Step 2. Connect your POS-terminal to a local network
If you have a POS-terminal with Wi-Fi, then you need to go to the menu and choose System Setup -> WiFi, then select a network and enter a password. If your POS terminal has an Ethernet interface, then connect it to your router using a patch cord cable. Use an adapter from RJ45 to RJ12, if necessary. To connect your terminal to the router, you need to go to system menu and choose System Setup -> Network, then select the method of obtaining an IP address - static or dynamic using DHCP. Connection status and the received IP address can be viewed in the menu Poll Status.
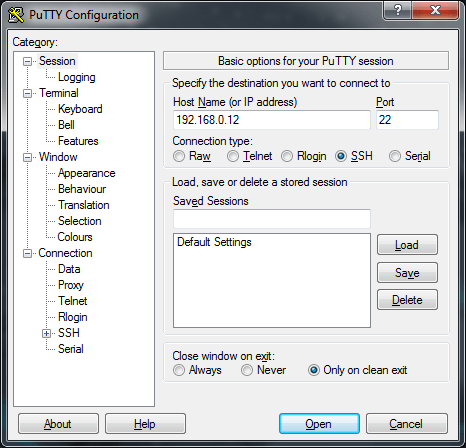
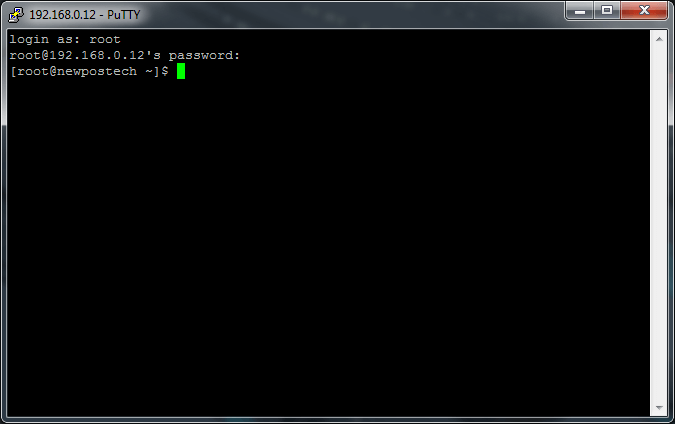
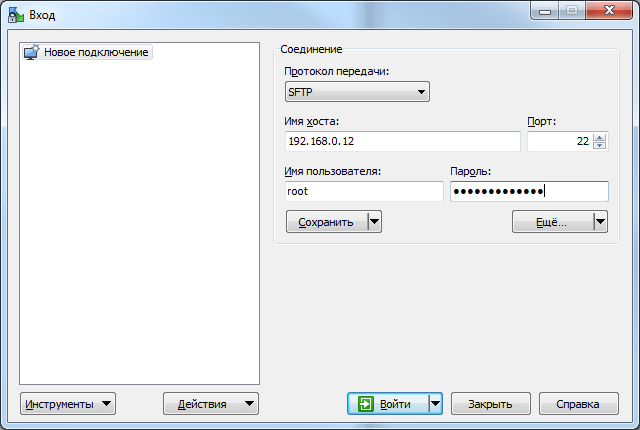
Step 3. Connecting to POS-terminal via SSH
Start the SSH client and specify the IP-address of your POS-terminal, obtained on the previous step, as well as the login and password, you received with the patch.
Step 4. Build an application
To install and configure Toolchain and SDK, you need to read the NewPOS Developer Manual, which is included with the SDK. In this manual you can also can find instruction for assembly of your application from source codes.
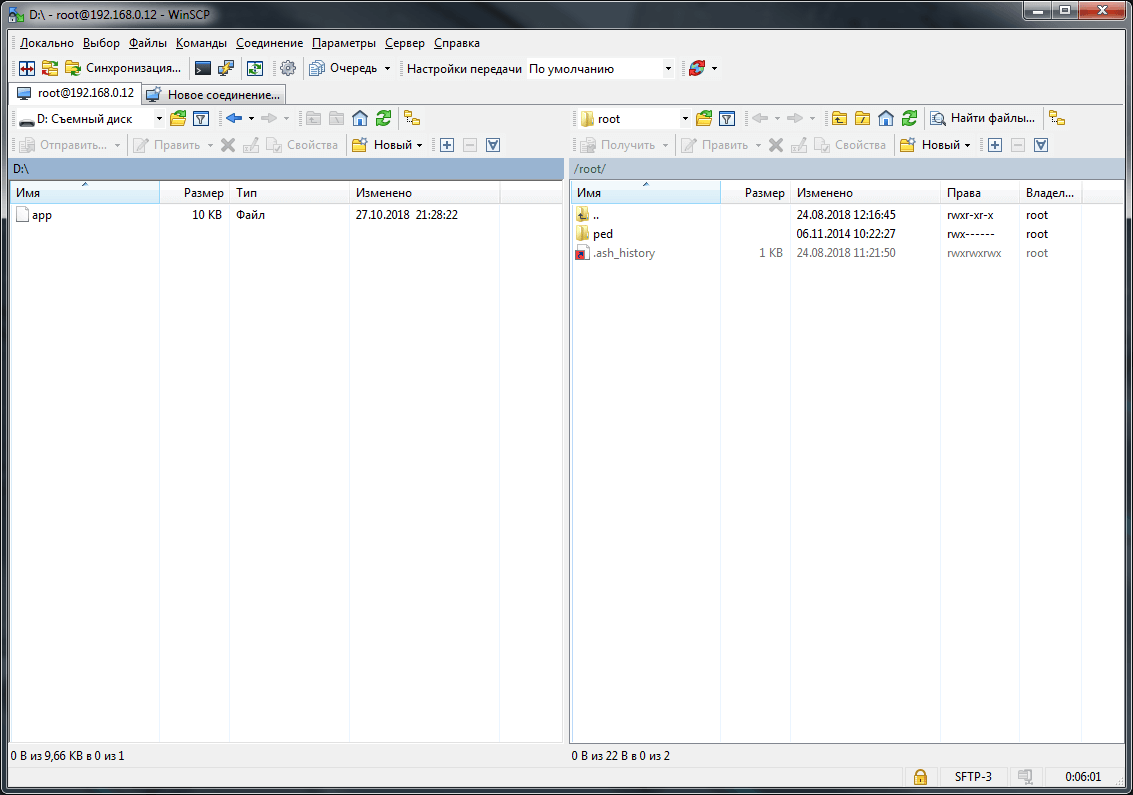
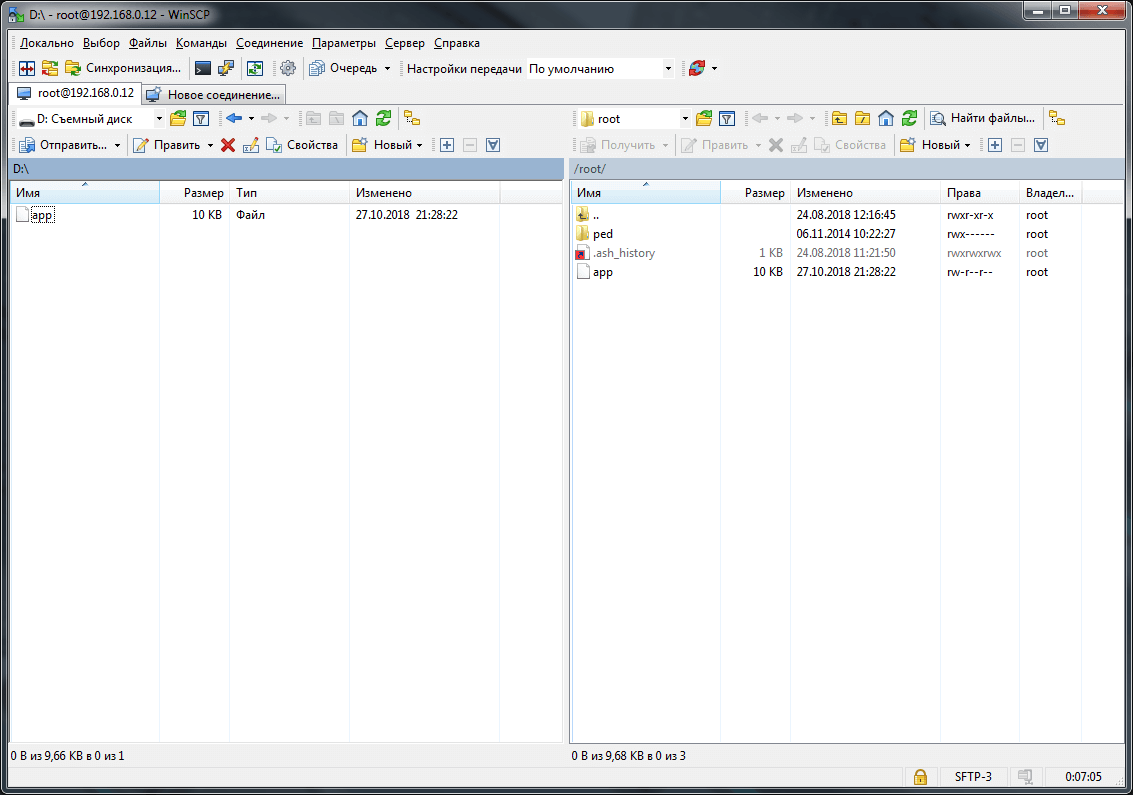
Step 5. Installing an application on the POS-terminal
You need to use the WinSCP utility. Connection settings are the same as in the SSH client. You need to copy your compiled application file (in my case it is the file named app) and all required resource files (images, libraries) from your computer (left panel) to the POS-terminal (right panel).
Step 6. Launching application
Let's go back to the SSH client and run ./app in the console. This line starts your application on the POS-terminal, and we also see the output of application in the standard stream on the console.

Thus, we learned how to run unsigned applications on a developer terminal, which significantly reduces development time.