22 November 2020
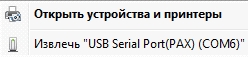
Firstly, we need to connect our PAX via USB port using miniUSB cable type A – USB type A, USB type A connects to a PC, miniUSB type a connects to a terminal.
Step 1.
Turn on the terminal. The new device is defined as USB Serial Port.
Step 2.
Then, start the «TermAssist» program.
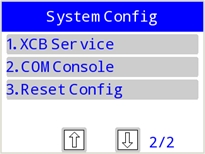
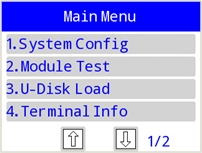
Enter the terminal into the software downloading mode, for this we have to turn on the terminal and at the time of loading press «2» key several times until the «Main Menu» appears.
Choose «1. System Config»

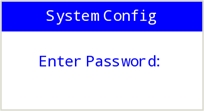
Step 3.
Enter password«123456» (if necessary)
Step 4.
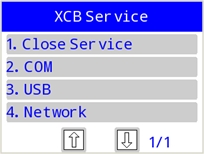
Choose «1. XCB Service»
Step 5.
Choose «3.USB»

Step 6.
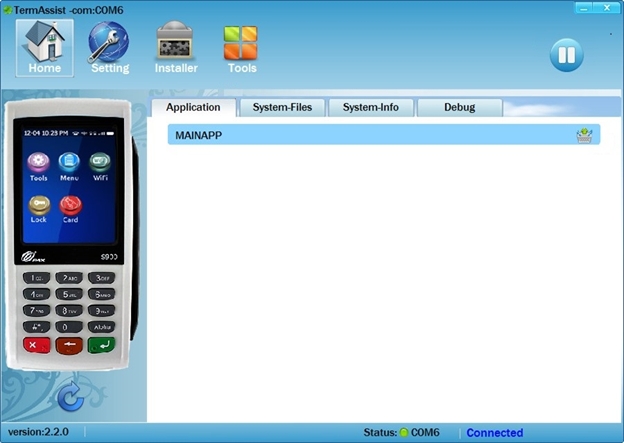
Start the «TermAssist» program. In the menu «Setting» choose the «Connect Settings» tab. Then, in the «Connection Mode» section choose «Serial Port». In the «Serial Port Setting» section, set the COM-port number from the list. Click the  button
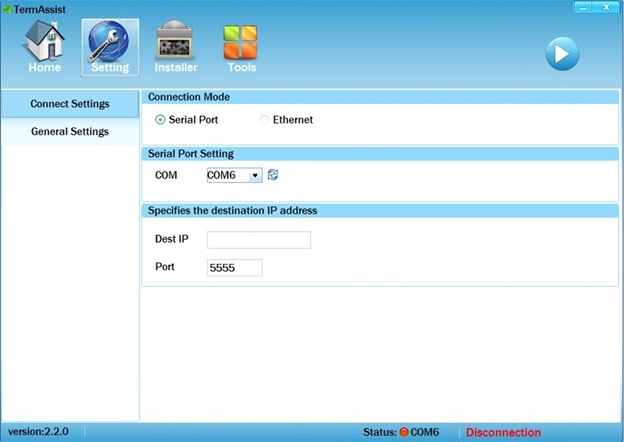
The bottom line of the TermAssist program displays the COM port status as: «Connected»

Step 7.
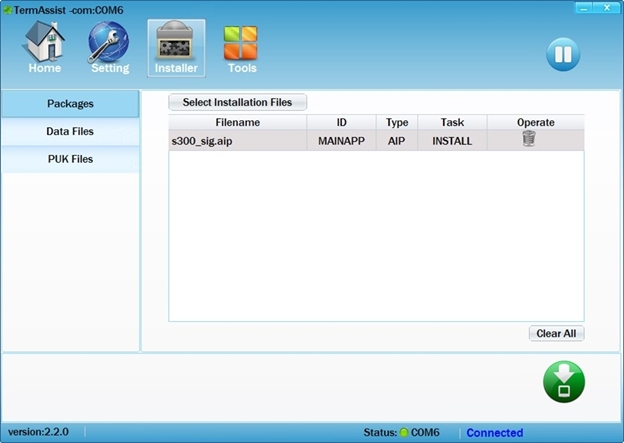
Enter the «Installer» menu:
On «Packages» list click the button «Select Installation Files».
In the appeared list select the software to install it to the your terminal.
Click the  button
Step 8.
On «DataFiles» in «ID» menu choose the parameter «MAINAPP». Push the button «Select Data Files», choose files with the parameters.
Press the , button appeared in the bottom of the window.
Wait till the end of loading.
After installing and further work with the terminal, click the  button on the toolbar in the «TermAssist» window and then close the application window.
Then you have to close «XCB Service».
Choose «System Config» in the terminal menu.
Step 9.
Enter the password «123456» (if necessary)

Step 10.
Choose «XCB Service»

Step 11.
Choose «Close Service»
Step 12.
Then you have to restart your terminal.
You can check the version of the installed software in the «Home» menu item on the «Application»
Click the  button in order to delete the installed software in the «Home» menu item on the «Application».