22 November 2020
Sometimes you may have a problems with connecting to a host when you install your payment terminal on a trade outlet. This problem is usually solved jointly by the outsourcing company’ specialists and employees of the company’s IT-service.
Host availability verification is required in order to understand where the routing problem is. VeriFone terminals have this possibility, which undoubtedly simplifies the search.
Initially, payment terminal is set on automatic obtaining of an IP address via DHCP.
It is necessary to enter the «Network Control Panel» of the terminals in order to find out what address the terminal has received. This goes as follows:
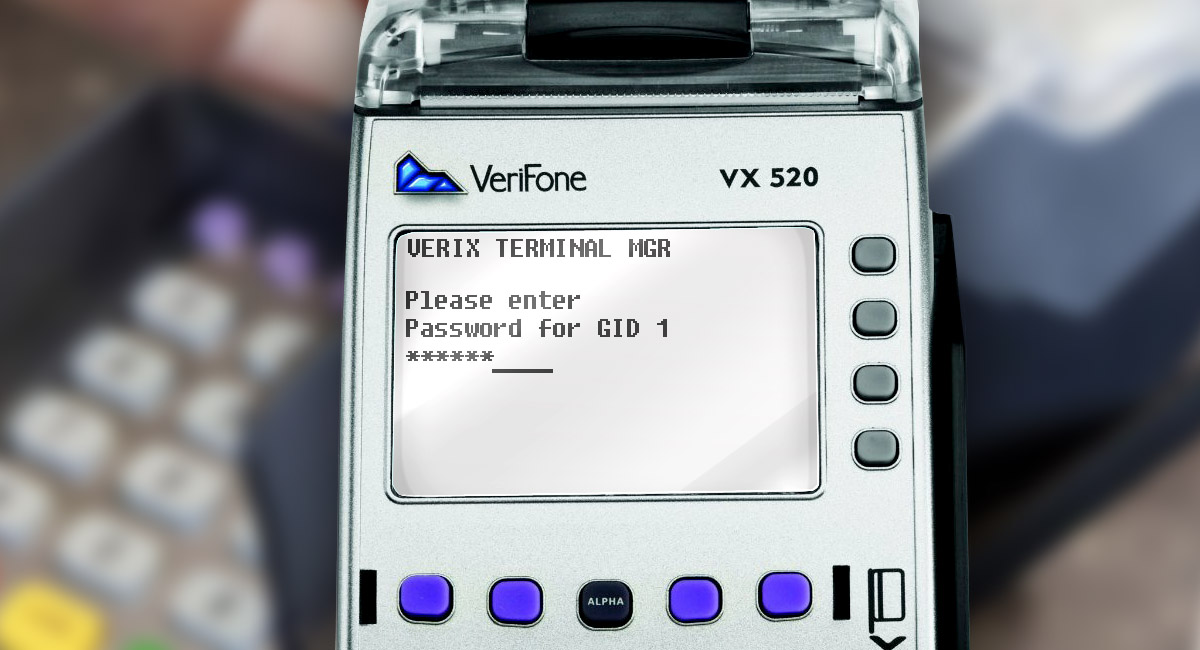
Step 1.
You can do it by simultaneously pressing «F2» and «F4» or green button and number «7». Then enter installed system menu’s password

Step 2.
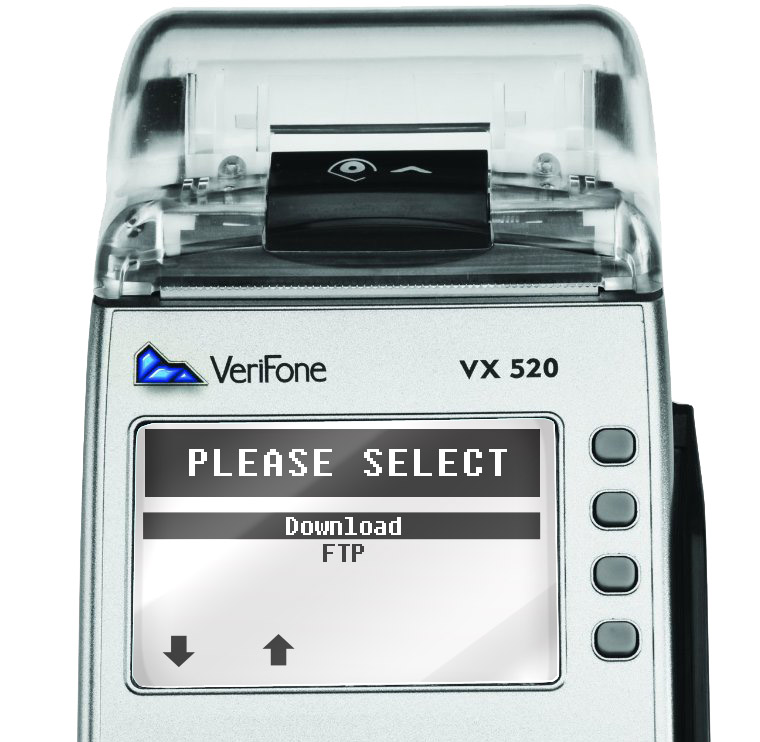
In «VERIX TERMINAL MGR» menu choose «Download».

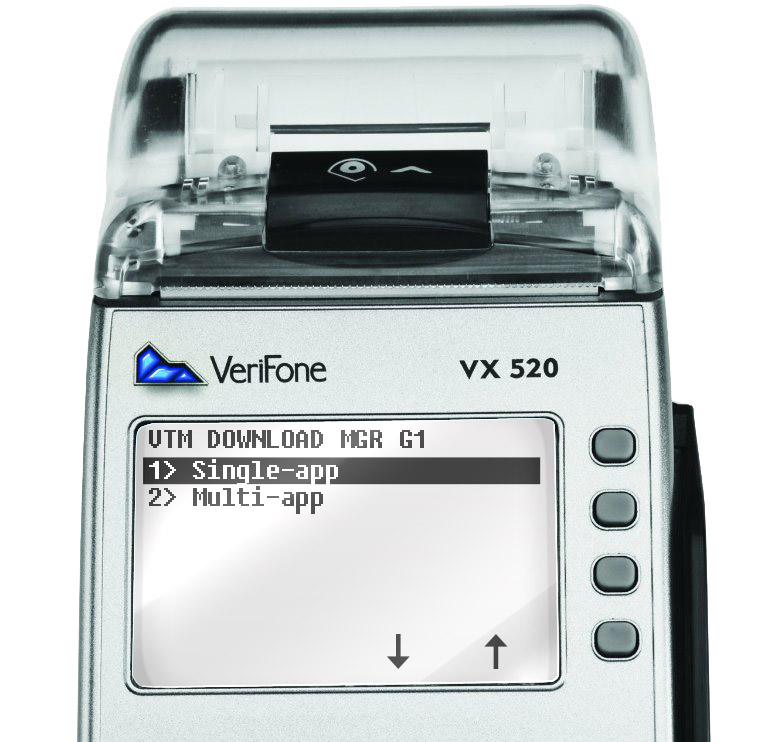
Step 3.
In «DOWNLOAD MGR» menu choose «Single-aPP» / «Multi-aPP»
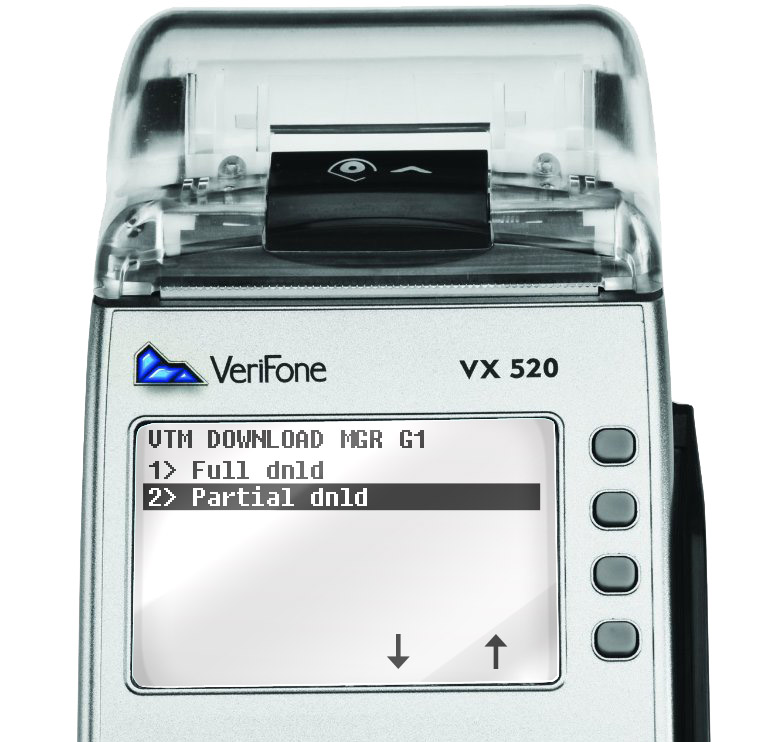
Step 4.
Then choose Partial dlnd.
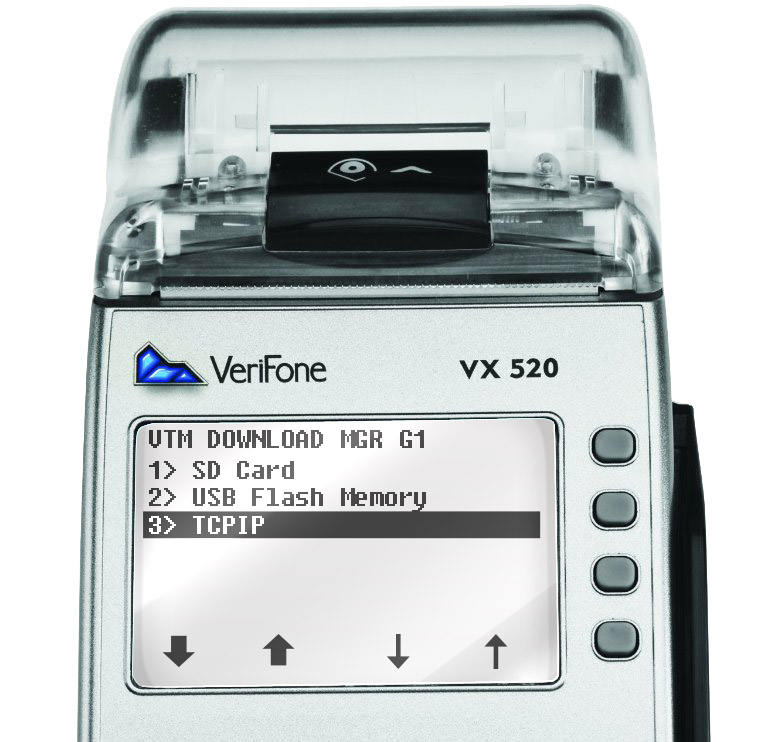
Step 5.
And then TCPIP
Step 6.
Press red button to exit download-menu.
Step 7.
So that we go to Network Control Panel.
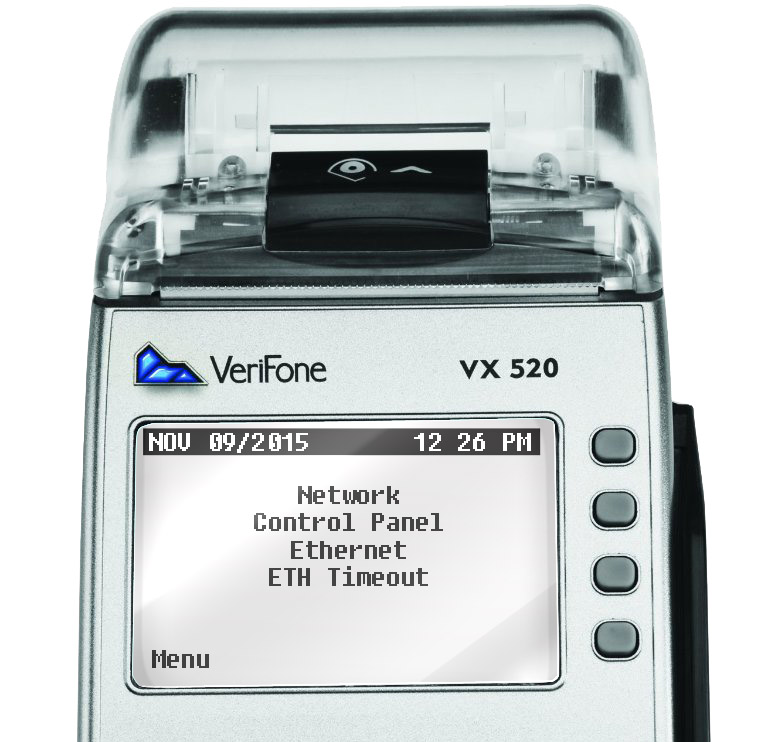
Step 8.
Choose Menu>Terminal Info.

Step 9.
Then choose IP status.

Step 10.
Choose «Ethernet» or «GPRS» depending on your connection option.

Step 11.
The window opened on a display will show the IP-address or «NOT connected» if connection is lost or IP was not received.
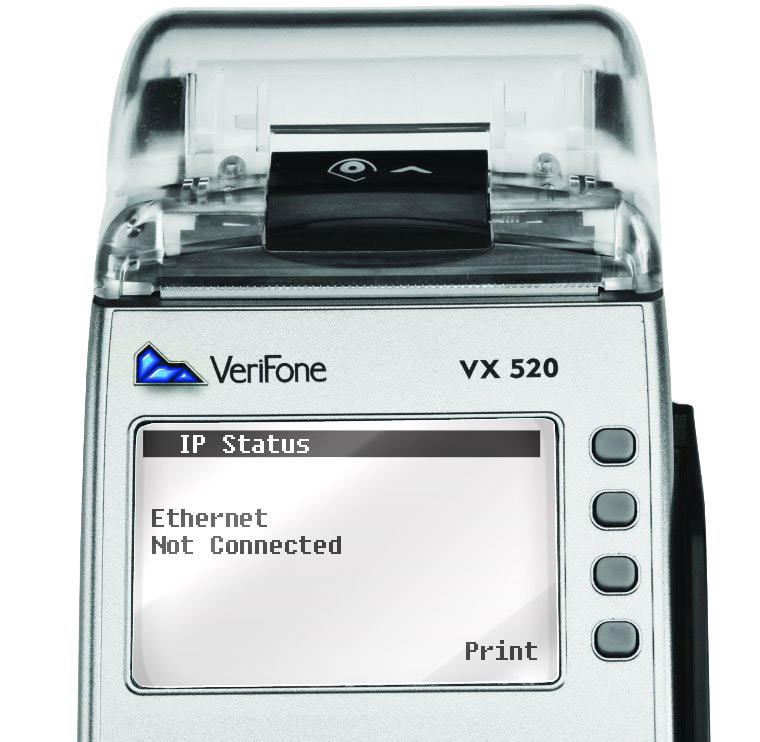
Terminal has to be connected via Ethernet or SIM-card must be installed inside.
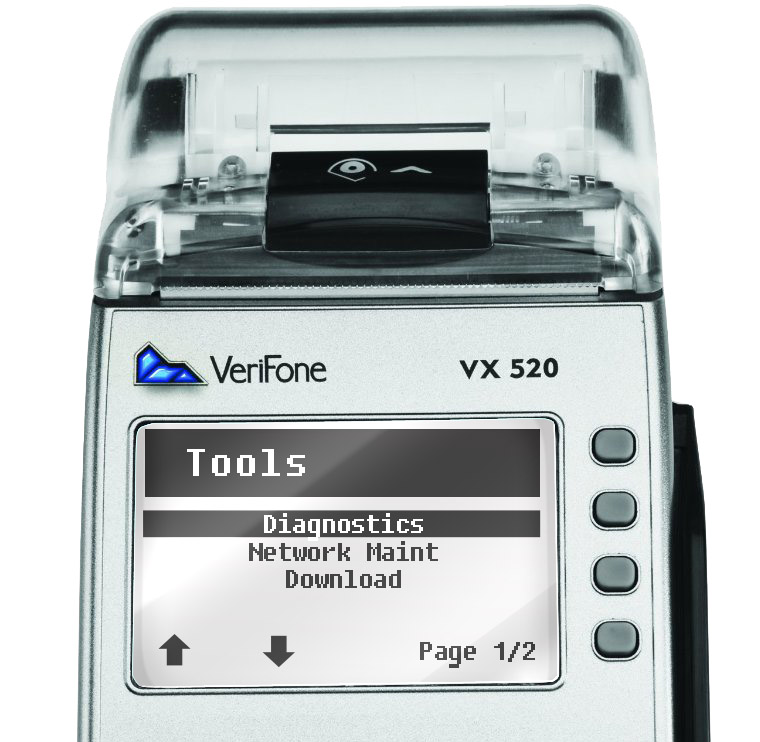
Step 12.
Alright, we’ve hooked up a patch-cord. Enter Network Control Panel. Choose Menu->Tools there.

Step 13.
Choose Diagnostics
Step 14.
Then choose All
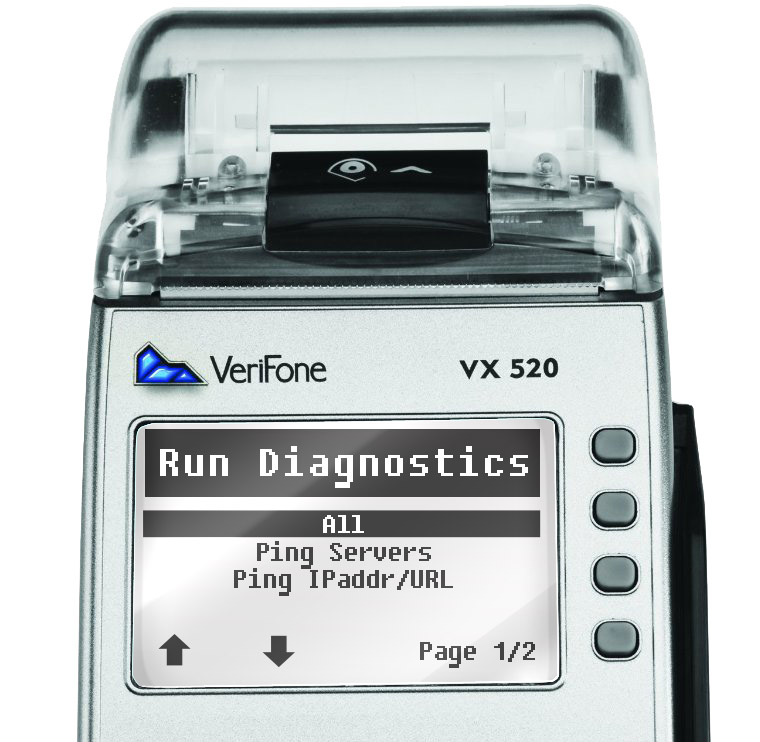
Step 15.
Depending on what connection the terminal uses, select Ethernet or GPRS.
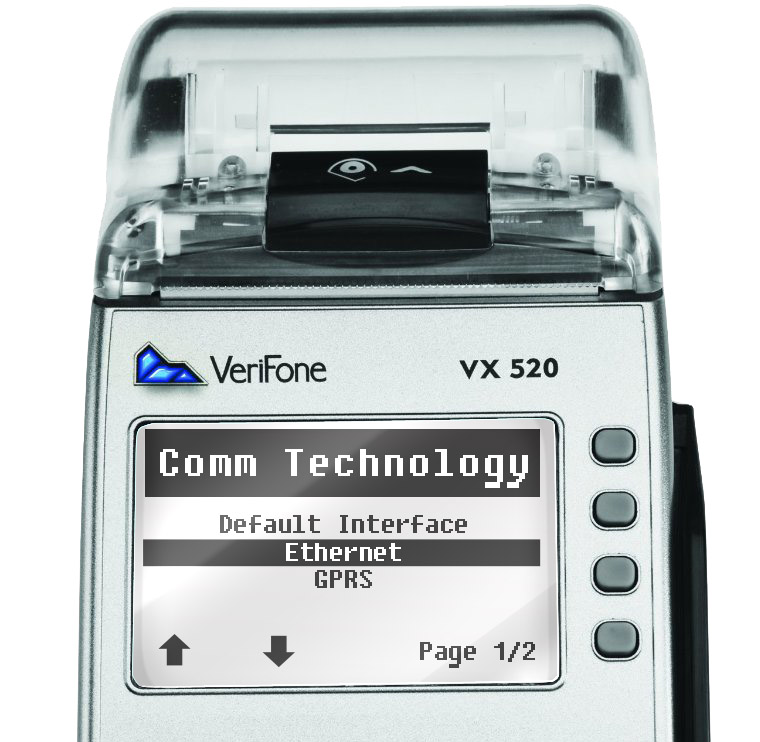
For example, You’ve chosen Ethernet. The terminal pings the local gateway address received from DHCP: 192.168.1.1
Then google.com
Then verifone.com
Then yahoo.com
So that, you can check if terminal has connection with Internet
Editing an IP address and site names
Step 1.
Choose Menu->Setup in Network Control Panel menu.

Step 2.
Type the installed system menu’s password.
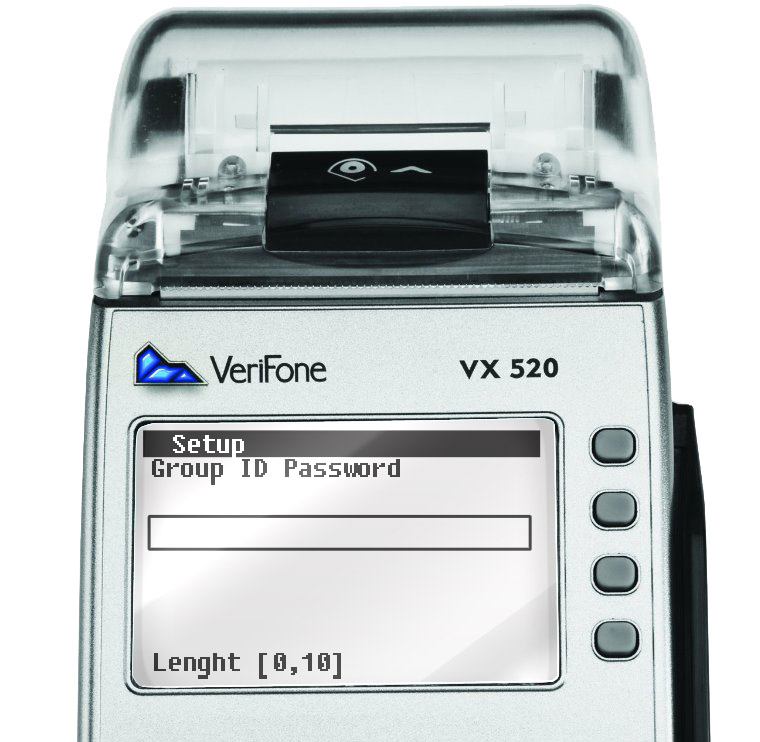
Step 3.
Choose Diagnostics.

Step 4.
Then choose what you want to edit.